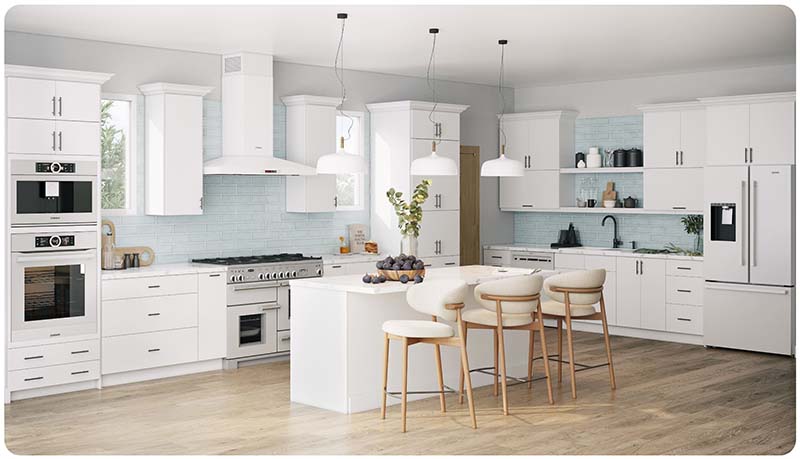
Installing kitchen cabinets is a rewarding DIY project that can transform the look and functionality of your kitchen. With careful planning and attention to detail, you can achieve professional-looking results. Here’s a step-by-step guide to help you install kitchen cabinets effectively:
1. Gather Your Tools and Materials: Before you begin, gather the necessary tools and materials. This typically includes:
- Tape measure
- Level
- Drill/driver with screwdriver bits
- Stud finder
- Shims
- Pencil
- Screws
- Cabinet hardware (knobs, pulls)
- Cabinet installation screws
- Safety goggles and work gloves
2. Measure and Plan: Measure your kitchen walls and mark the layout of your cabinets on the wall using a pencil. Start from a corner or the end of a run of cabinets and work outward. Use a level to ensure your lines are straight and level.
3. Locate Wall Studs: Use a stud finder to locate and mark the position of wall studs along the layout lines. Securely anchoring cabinets to wall studs is crucial for stability.
4. Install Upper Cabinets First: Begin with the upper cabinets. Start at one end and work across. Position the first cabinet against the wall and have a helper hold it in place. Use shims to ensure it’s level and plumb. Drill pilot holes into the wall studs and secure the cabinet to the studs using cabinet installation screws.
5. Level and Shim Cabinets: Check each cabinet for level and plumb as you go. Use shims behind the cabinets and at the bottoms to ensure they are flush and properly aligned. Adjust as needed before securing each cabinet in place.
6. Connect Cabinets Together: For multiple cabinets, use cabinet clamps to hold adjacent units together tightly. Drill pilot holes through the face frames and install screws to connect the cabinets securely.
7. Install Base Cabinets: Once the upper cabinets are in place, install the base cabinets following the same process. Use shims to level and adjust as needed. Ensure base cabinets are level and flush with the upper cabinets.
8. Cut and Install Filler Pieces: Use a table saw or circular saw to cut filler pieces if necessary to fill gaps between cabinets and walls or between cabinets themselves. Secure filler pieces in place with screws.
9. Install Cabinet Doors and Drawers: Once all cabinets are installed, attach doors and drawer fronts using hinges and drawer slides according to manufacturer instructions. Install cabinet hardware (knobs, pulls) to complete the look.
10. Make Final Adjustments: Check all cabinets for alignment and functionality. Make any final adjustments, such as tightening screws or adjusting hinges, to ensure everything operates smoothly and looks professional.
11. Finish Touches: Add finishing touches such as trim molding along the tops of cabinets or along the floor to conceal gaps and create a polished look.
12. Clean Up: Remove any protective coverings or tape and clean up your work area. Step back and admire your newly installed kitchen cabinets!
Installing kitchen cabinets requires precision and patience, but with the right tools and techniques, it’s a project that can be tackled successfully by DIY enthusiasts. If you encounter challenges or feel unsure about any step, don’t hesitate to consult installation guides or seek advice from experienced professionals. Enjoy the process of transforming your kitchen with beautifully installed cabinets that enhance both form and function!


